
Bleed Brakes With Car On or Off: Car Mechanic Reveals
One of the most crucial aspects of knowing when to bleed brakes is turning the car on.
There’s a common misconception that the automobile needs to be running for you to properly bleed the brakes, but this isn’t always the case.
When bleeding brakes are required, and when it is not, is discussed here. For your convenience, we’ll also discuss the best time to Bleed Brakes With Car On or Off.
What is Brake Bleeding?
To check if the brakes are functioning properly, it is necessary to “bleed” the brakes, which involves releasing air from the brake lines. The brakes may fail if the air is allowed to build up in the lines, therefore this is crucial.
When bleeding brakes, a brake bleeder tool is one of the most frequent pieces of equipment to employ. A device that may be attached to the brake line and pumped up and down to release air from the braking system.
Should The Car Be On While Bleeding Brake?
In order to properly bleed the brakes, the car’s engine must be running. It is necessary to turn on the vehicle with the engine running in order to release the brake fluid.
This is because your foot is pressing against a piston that is filled with spring tension when you use the brakes. When the engine is running, there is enough force to overcome the resistance from the spring and release the brake fluid.
Brake fluid can only flow back into the brake caliper if you bleed the brakes with the motor turned off. It’s possible that braking system contamination will result from this.
When Should You Turn On The Car While Bleeding Brakes?
While bleeding the brakes, turn the car’s ignition on and off a few times.
- Putting the car in gear might produce a vacuum and force fluid through the brake bleeder valve if you’re having difficulties getting fluid to flow out.
- Also, if your brake pedal feels mushy, you should start the automobile. When this occurs, it’s likely because there’s air in the system; starting the automobile might assist in releasing the air from the brakes.
- When bleeding brakes by yourself, you should push the pedal at each wheel to release air bubbles. The procedure can be sped up by starting the automobile.
- When bleeding brakes with another person, however, just one person should push the brake pedal. When you’re done bleeding the brakes, make sure to turn the car off.
When Do You Need to Bleed Your Brakes?
In some conditions, bleeding the brakes may be necessary. Instances like when brake pads or fluid need to be changed are commonplace. As a result, air can enter the brake lines, which must be released for the brakes to function properly.
If the brake pedal is soft when you push it, you may also need to bleed the brakes. Bleeding the brakes will eliminate the air and fix the problem.
A leak in the braking system might be detected if the brake pedal drops to the floor when you apply pressure. If you see that the brake fluid reservoir is becoming low, you should bleed the brakes as well.
Finally, if your brakes make a screaming noise when you apply the brakes, it may be time to change the brake pads. The air in the system might be to blame, thus bleeding the brakes could eliminate the noise.
Brake Fluid Selection
This raises the question of what kind of fluid is used as braking fluid. Since liquids cannot be squeezed, even plain water should work in principle. In any case, keep in mind that the braking system’s primary purpose is to transform motion into heat via friction.
Extremely High Temperatures
Additionally, it is certain that some components of the braking system will be subjected to extremely high temperatures during this operation. Indeed, it is not unusual for rotor temperatures to reach 1200 degrees Fahrenheit during a race, which can cause the braking fluid to reach temperatures of more than 300 degrees Fahrenheit.
Water’s boiling temperature is 212 degrees Fahrenheit, so it’s not hard to see how readily water in the braking system may boil, releasing gases into the brake pipes and decreasing the system’s effectiveness. (Icy water would also be an issue during the winter months.)
- One “obvious” way to address this issue is to switch to a fluid that performs better in a wider range of temperatures. This is what led to the creation of something called “brake fluid.” A “perfect” braking fluid does not exist, though. As is the case with the vast majority of things in our world, improving one aspect inevitably necessitates weakening another.
- The braking fluid’s temperature sensitivity, cost, and effect on other parts of the system are all factors that need to be considered.
- To put it another way, the constituents of a fluid can be changed to make it less sensitive to changes in temperature. While certain fluid additives are necessary, others can drive up the price dramatically or even cause seal failure or corrosion throughout the brake system if they clash with OEM components.
How Often Do I Need to Bleed My Brakes?
Here are some general guidelines to follow when deciding on the optimal bleeding interval:
Unless the system is opened for repair or replacement, most original equipment manufacturer (OEM) braking systems are designed to function without bleeding for the lifetime of the vehicle under normal driving circumstances and without any alterations to the brake system. It’s not necessary to bleed on the way to work or on a quick errand around town.
However, the owner’s handbook or service center can tell you if your European car is one among the few that recommends replacement on a semi-regular basis for additional reasons.
A good start of the season maintenance item for low-speed racers is to replace your brake fluid and bleed the brakes annually if you autocross or drive sportily.
Bleeding your brakes before each event is a good idea if you often subject your car to hard braking at high speeds or if you plan on attending driver training courses or lapping sessions. Some of the more competitive drivers in these races may choose to bypass this procedure. In the end, after each race session, bleed the dedicated race vehicle.
How to Bleed Your Brakes?
You’ll find a detailed, 12-step breakdown of brake bleeding below.
Step 1: Check Brake Fluid Type and Replacement Frequency
Check your vehicle’s handbook to discover what kind of brake fluid you should use. (It’s also helpful to know how often the maker recommends replacing it.) Different kinds of braking fluid should not be combined.
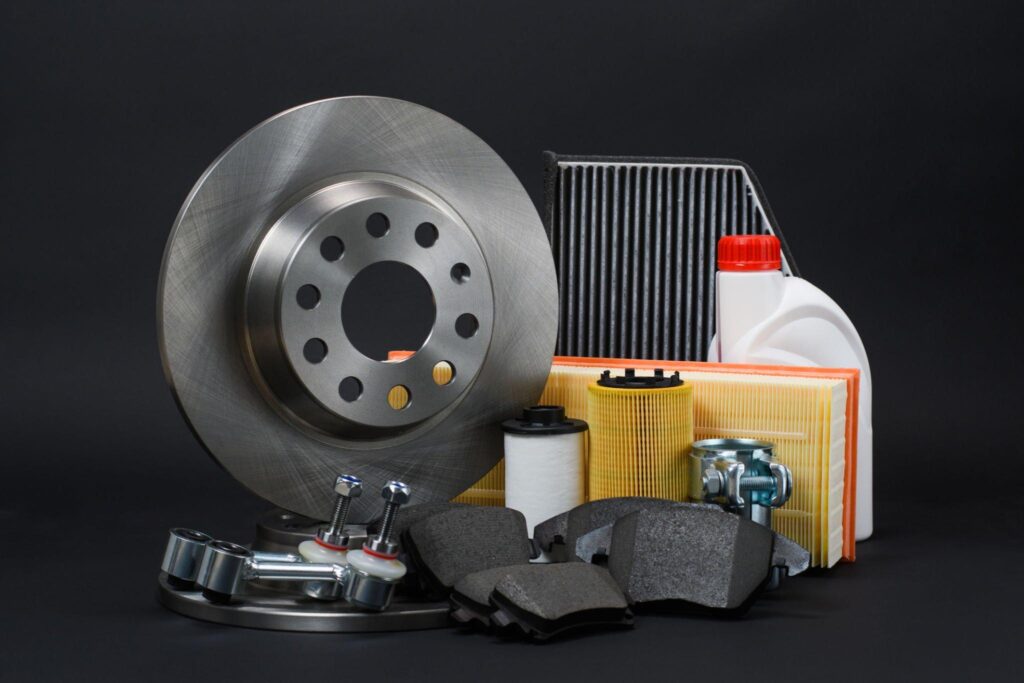
Before you start working on the brakes, you should stop by the auto parts store or the dealer’s parts department to pick up the proper fluid. You can bleed the system using only a couple of 12-ounce cans of excellent brake fluid, which is surprisingly cheap.
Step 2: Jack up the Car and Secure it on Jack Stand
Now jack up the car on flat, stable ground (such as a garage floor or driveway) and rest it on four jack stands set up at the jacking positions stated in the instructions. (If you want your neighbors to start worrying about the value of their homes, you can always put it up on cinder blocks.)
Since bleeding brakes requires getting partially beneath the car, it must be raised above the ground on a stable support. Get rid of the four wheels.
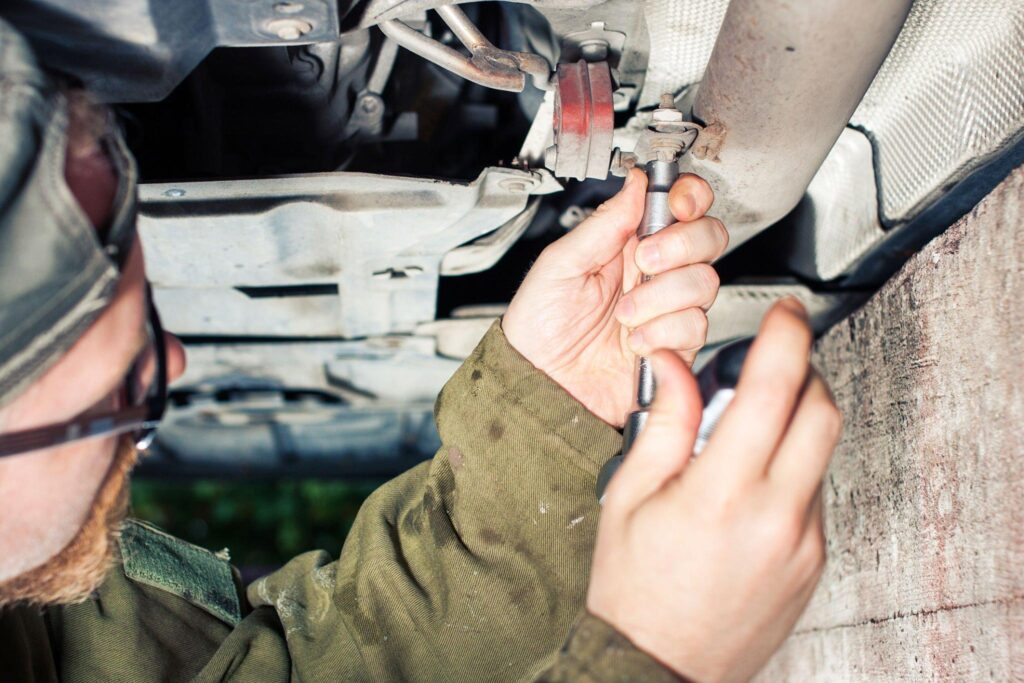
Step 3: Locate and Loosen the Brake Bleeder Screws
Now you’ll look for the four caliper bleeding screws; one of them is seen in a typical place above. (The bleeding screws for drum brakes are quite similar.) Instead of twisting the wrench with all your might, try loosening them slowly and seeing if it works. Try spraying them with penetrating oil, waiting half an hour for them to sink in, and then trying to loosen them again if they prove to be stubborn.
Should they break or strip, immediately stop the car and get the problem fixed by a professional. Because you’ll be bleeding one brake at a time, you’ll need to retighten all of the bleed screws once you’re done. A mushy brake pedal and a less effective braking system are both signs that air bubbles have made their way into your brake fluid.
Step 4: Check the Brake Master Cylinder Reservoir and Refill it if Necessary
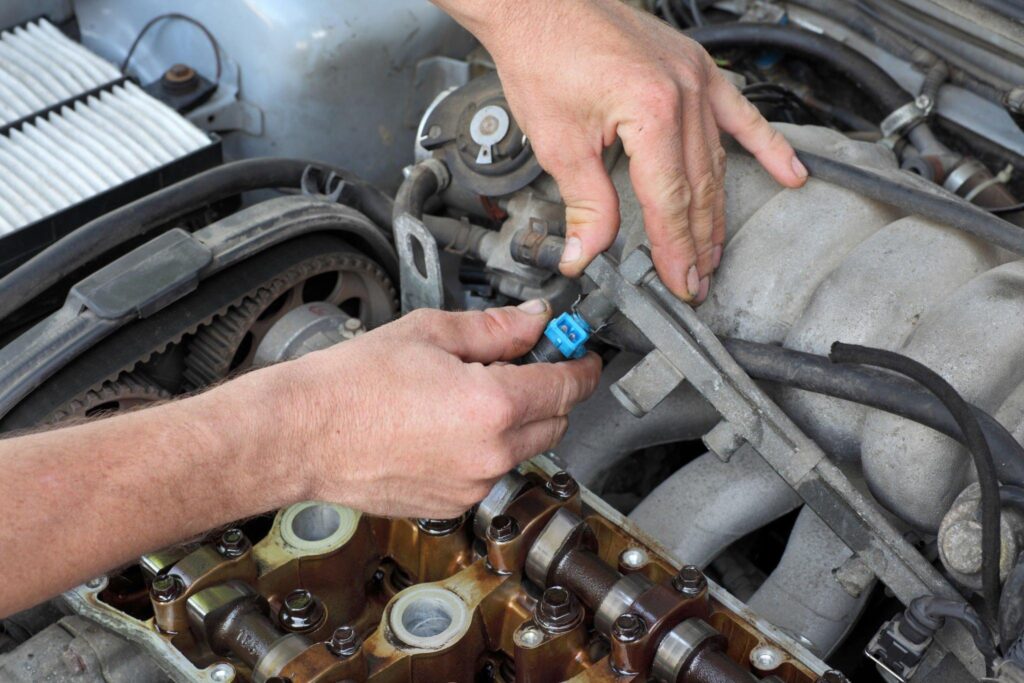
Open the car’s hood and examine the brake master cylinder reservoir. The handbook that came with your car probably shows where to find it. If the fluid level in the transparent reservoir drops below the “full” line, you should refill it. Be sure that your car has the proper fluids (see step 1).
To ensure proper brake bleeding, the master cylinder cap should be left unscrewed but in situ atop the reservoir. Bleeding the brakes requires a certain order of operations. In most vehicles, the brake that is farthest from the master cylinder should be bled first, although this isn’t always the case. You may find such data in the owner’s handbook or at your dealer’s service center.
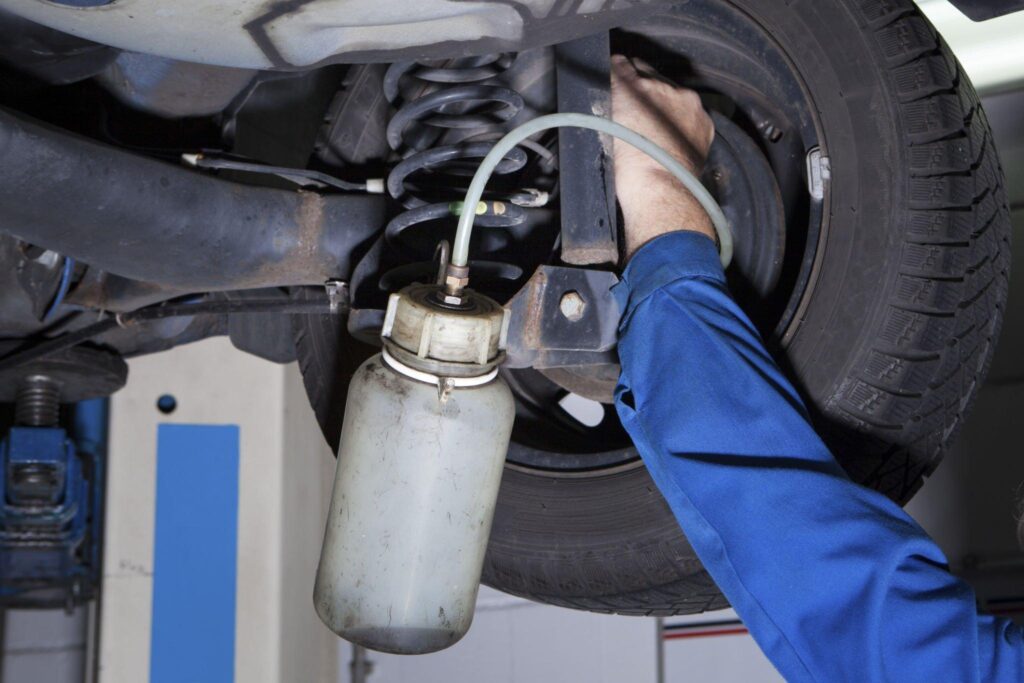
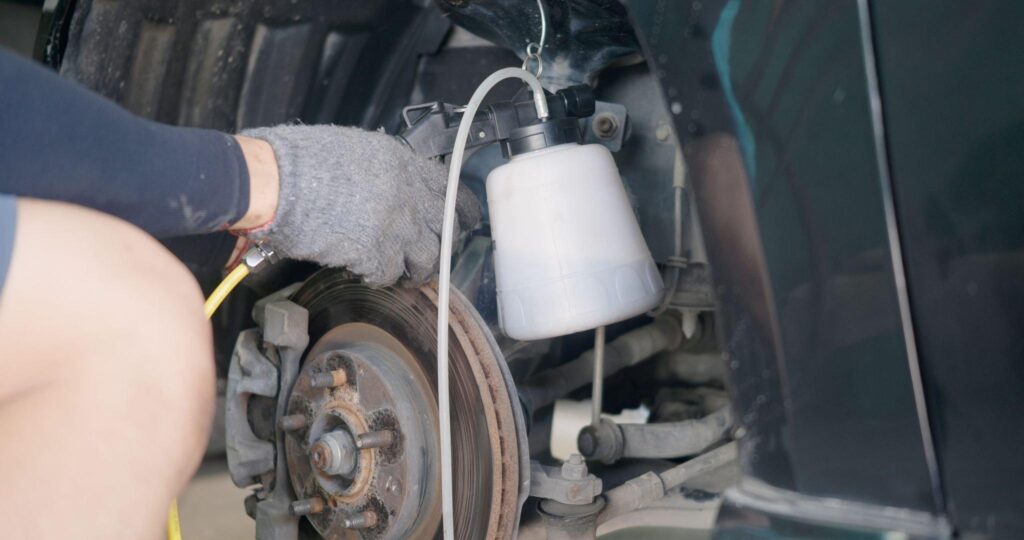
Step 5: Attach Transparent Tubing to the Bleeder Screw
Use a length of transparent tubing (often a quarter-inch in diameter) and secure one end to the bleeder screw of the first brake you’ll bleed. The other end should be placed in a catch container, such as an empty beer can or plastic soda bottle. To prevent air from escaping back into the caliper, the tubing should be long enough to allow the catch container to be hung above the bleeder screw.
Step 6: Have an Assistant Pump the Brake Pedal
Involve your capable helper. After turning off the vehicle’s engine, have your assistant apply the brakes by repeatedly pumping the pedal until they meet with a satisfying amount of resistance. When a solid pedal is reached, the helper should yell “Pressure!” Tell them to keep their foot on the gas the entire time.
Step 7: Loosen the Bleeder Screw and Allow Fluid to Flow
The helper will keep their foot on the pedal while you loosen the bleeder screw slightly. The pedal will begin to descend toward the ground as the fluid moves through the transparent tube. Maintain their forward momentum on the pedal’s downward movement.
Step 8: Tighten the Bleeder Screw and Check Brake Fluid Levels
This step requires the helper to shout “floor!” or “down” when the pedal nears the ground. When you hear that signal, immediately tighten the bleeder screw. Brake fluid levels in the master cylinder reservoir should be checked now and replenished as needed.
Step 9: Repeat Steps 6-8 to Remove Air Bubbles
To ensure that the fluid circulating through the transparent tubing is completely devoid of air bubbles, STEP 9 calls for the repetition of STEPS 6–8 at that hub position at least five times.
Step 10: Repeat Steps 6-9 for the Other Brakes
Now in the same order, repeat procedures six through nine at the other three brake spots. This is done by starting with the brake on the wheel furthest from the master cylinder and working your way toward it.
Step 11: Test Brake Pedal and Check Fluid Movement
After you’ve finished bleeding all four brakes, the eleventh step is to have an aide step on the brake pedal with all their weight and then release it immediately. Take a look at the fluid in the master cylinder reservoir and how it is moving. Even after a large fluid eruption, bubbles of air may be present.
To get rid of the air, you’ll need to repeat the bleeding process. On the contrary, a slight agitation in the fluid betrays a brake system that has been bled adequately.
Step 12: Double-Check the Tightness of the Bleeder Valves
Double-check the screw tightness of the bleeder valves. When replacing the car’s wheels, use firm pressure but not all of your might to tighten them; doing so increases the risk that the bolts may snap. That’s it, you’re finished.
Frequently Asked Questions
Is it better to bleed brakes with the car on or off?
You should never bleed the brakes while the engine is running. When your car’s engine is on, suction is created that helps apply the brakes. There should be no boost in order to bleed the system completely.
What are the common mistakes when bleeding brakes?
You should avoid the following typical mistakes when bleeding brakes:
Accidentally combining brake fluids of different sorts. Once upon a time in the construction of automobiles, all brake fluid was equivalent, but this is no longer the case. Putting mud into the machine. Dissecting the bleeding one. Breaking down and spilling brake fluid all over the place.
How to get the air out of brake lines without bleeding?
Put together the necessary materials. Lift the Car Up on Jack. You need to track down some Bleeder Bolts. The bleeder bolts need to be loosened and tubing should be attached. Someone else should put the brakes on. Sweep the Bleeder Bolt. Mechanics, please switch out the old brake fluid for the new one. All Bleeders Must Be Tightened And Secured. Get all the wheels done in the same way.