How to release air from brake lines without bleeding
Stopping for a brake bleed is something that everyone has had to do at some point. There’s always a risk you haven’t bled them enough because it takes a while and it isn’t always clear when you’re done. A simple solution exists for How to release air from brake lines without bleeding.
A common problem with vehicles that have been sitting for a while is air in the braking system. The most important query that individuals have these days is whether or not the air in their brake lines will eventually be eliminated. When air can’t get out of the brake lines, the brakes can’t stop the car quickly and become soft when they’re put under pressure. This can result in dangerously long stopping distances.
To get the air out of a car’s brake system without bleeding the system, you will need a few simple tools and an understanding of how the hydraulic system works. Also, driving a car with air in the brake lines is a very dangerous thing to do.
Follow the steps in this article to figure out what’s wrong with your brakes and How To release air from brake lines without bleeding.
How to Bleed Brakes by Yourself:
The next step is going to feel almost like playing a game the first time you perform it because I’m going to show you the easiest and most effective way to release the air from the brake lines.
Step 1: Jack Up The Car
Put the vehicle on jack stands and take out the wheel and tyre. The next step is to use a clean cloth to remove any debris or dirt from the spot where the brake lines join the vehicle.
Be careful to give the line a good scrub down since any residue of dirt or oil may encourage the formation of air bubbles. Once the area has been cleaned, it must be dried. A fresh cloth or blast of compressed air can do the trick.
Step 2: Locate the Source of the Bleeding
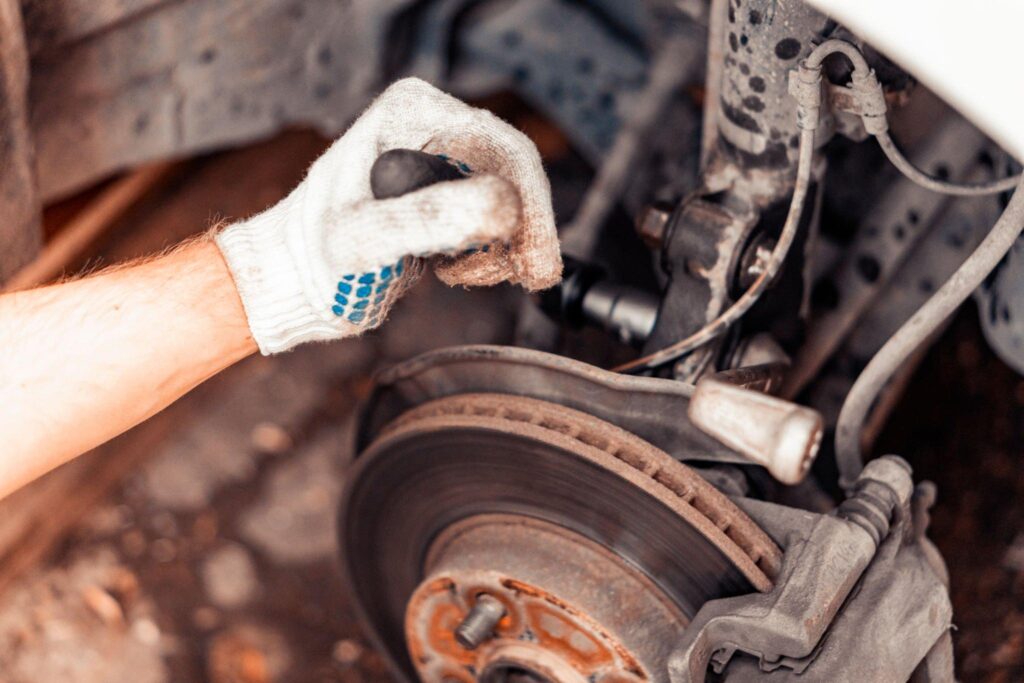
If you look under the brake assembly, you will find a screw and hose that will be used to release air from the braking fluid. Using a jack or towers to raise the car will make working underneath it much simpler.
Make sure to cover it with a towel or several layers of newspaper to prevent it from staining. Always keep in mind that brake fluid is acidic.
Step 3: Make Use of the Plastic Hose
A bleeder screw is connected to a flexible hose that is placed in a glass or plastic container. Stop the vehicle and add brake fluid until the container is full. If a flexible hose is not available, the product can be dropped directly into the container.
Step 4: Apply the Brakes
It is time to find someone to instruct you on how to properly apply the brakes and when it is safe to release your grip on them.
Push down on the brake pedal several times and keep it down while you take out the bleeder screw. If you have a bottle of brake fluid, you can watch as bubbles emerge from the tube.
Hold the pedal down while you tighten the screw, and have your partner check that the pedal is back in the “up” position. If there are still bubbles in the brake fluid, repeat the operation.
Step 5: Bleeder Bolt Cleaning
Your buddy can release his or her grip on the pedals now. Clean the bleeder bolt with a lint-free cloth or compressed air, so take the tube off first.
Once the bleeding is done, lubricate the area where the line connects to the vehicle. This will make it easier to tighten the line again.
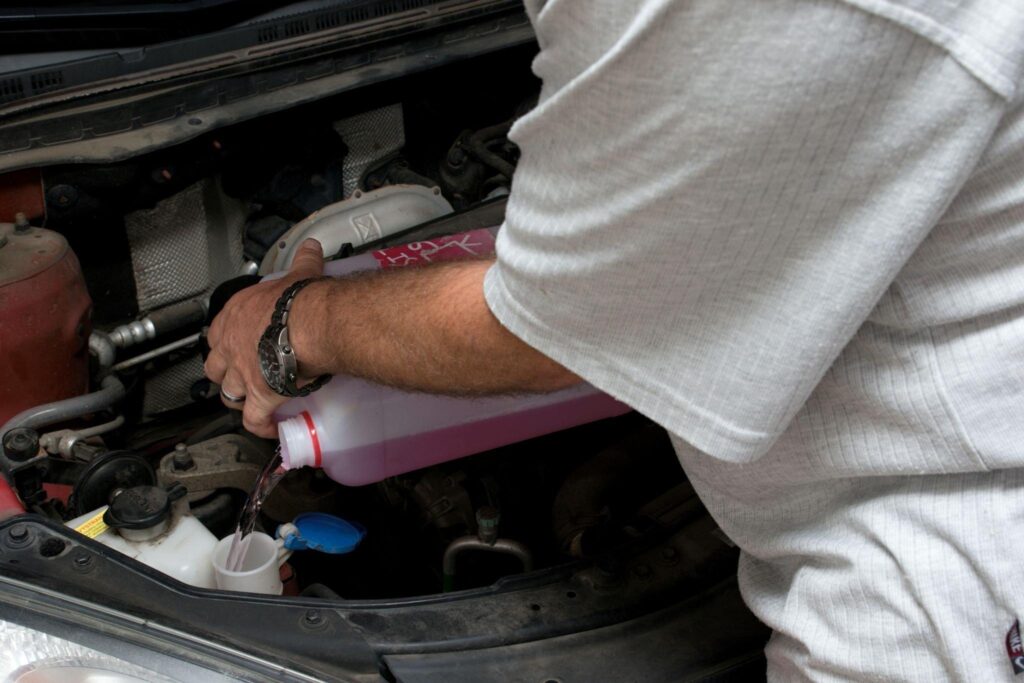
Step 6: System Refill
When you’re done bleeding the first station, you’ll need to add more brake fluid to the whole system.
The master cylinder’s cap must be removed and a new container installed. Carefully do this so that air doesn’t get trapped in the braking fluid and you have to start over.
Put some brake fluid on the area where the line meets the vehicle to look for leaks. Wait a few minutes, wipe it down, and then look for leaks. Tighten everything up until the leaking stops if necessary.
Step 7: Fast and Tighten the Bleeders.
After that, have your companion assist you in checking for air bubbles in the lines as you tighten the bleeder bolts with a tool. This will prevent air from entering the lines in the future. As a final step, use clutch-type clamps to fasten the brake line to the vehicle.
Step 8: Repeat the Procedure.
The procedure must be repeated for the right front and rear wheels as well as the left rear and front wheels. You need to do this three times for each wheel, but especially the front ones.
Nota bene: If air gets into the brake system through corroded or otherwise damaged brake lines, stopping power may be affected. Trying to do so while driving on a busy street or freeway is extremely risky. It is imperative that you drain the brake lines of any air bubbles.
Step 9: Put in Fresh Brake Fluid
At this point, it’s time for one final inspection of your brake lines. This is done to ensure that no air is leaking into the pipes. Last but not least, replace the brake fluid reservoir so there are no more issues down the road. Replace old brake fluid with fresh one to check if it works.
Step 10: Examine the Brakes
Make sure to wipe up any stray brake fluid after you’re done to prevent further harm.
Finally, you should test to see whether the brakes have been properly bled by driving the car at a slow pace and repeatedly using the brakes to see if the “stepping on a sponge” feeling has gone away.
How to Avoid Common Pitfalls While Bleeding Brakes
If you want to avoid making any common mistakes when bleeding breaks, consider the following:
- Every few times you bleed the brakes, have someone check the pedal to make sure it is still working. It’s best to disinfect every nut and bolt before you cut yourself.
- Never put anything sharp or greasy into the brake system. Instead, use the specialized brake spray lubricant that the expert suggested.
- Keep a record of every bleed procedure you performed. This will serve two purposes: it will remind you of how much fluid you’ve added, and it will expose any air bubbles in the system that may have formed as a result of your error.
- Do not take this assignment lightly; if at all feasible, outsource it. But if you’ve read up on how to bleed brake lines and feel confident in your abilities, go for it!
Where Does the Air Come From That Has to Be Sucked Out of the Brake Lines?
When there is air in the brake lines, the brakes don’t work as well, which can be dangerous in a number of situations, like when you have to stop and start quickly in traffic or because of an animal or other thing in the road.
If you don’t fix this soon, your brakes will keep getting worse, which will make driving more dangerous. If there is air in your brake lines, or brake pads, purging it will fix the pressure and responsiveness of the system, letting you stop in an emergency.
Frequently Asked Questions
What can be done to avoid having air bubbles form in the braking lines?
To prevent air bubbles from forming in your brake lines, do as follows:
- It is important to use clean brake fluid that has not been tainted by dirt, oil, or any other material. If you see signs of wear and tear on any of your seals, you should replace them right away.
- Before attaching a new brake line to the master cylinder or reservoir, be sure all traces of grease have been removed. Before you bleed the brakes, you should always restrict the lines so air can’t get back in.
- When refilling your tire cylinders, do it slowly and with the same caution you exercised when bleeding them.
How to bleed brakes without bleeder valves?
The brakes may most certainly be bled from the brake line. Separating the brake line from the brake caliper is necessary. Then, you’ll need to fill a container with brake fluid and place it over the end of the brake line. The next step is to recruit a helper to press down on the brake pedal alongside you.
How does gravity bleed brakes alone?
Brake fluid may be gravity-bled by removing the master cylinder’s cap and allowing the fluid to flow freely to a catch can. Most of the time, you’ll need to bleed the air out of the brake lines by loosening the wheel cylinder or caliper that’s the farthest away from the master cylinder.
The best and safest method for bleeding brakes is to use gravity. If the brake master cylinder is mounted high on the firewall, above the height of all four wheels, then the gravity bleed approach will work.
Conclusion
If you follow my advice carefully and have some patience, you should be able to release the air from your brake lines. Even though it might seem hard at first, if you follow my clear instructions, it will be easy.
Every motorist ought to be familiar with the process of bleeding the brakes on their own. It’s a straightforward action that can be executed by anyone. When doing this task, you must make sure to follow all safety rules to the letter.
In the event that you find the process of How To release air from brake lines without bleeding more than you can handle, simply take your car to a nearby auto shop. Having someone else take care of something you aren’t sure how to perform properly is worth the modest price you’ll have to pay.